We are a collection of Minneapolis folks cooking, preserving, and harvesting local, seasonal foods. This blog-share is meant to inspire greater culinary genius, as well as continued local food invention. What are YOU concocting in that kitchen of yours?
Showing posts with label radish. Show all posts

8.06.2013

Fermented onions and radishes!

I had some spare onions and radishes the other week, and, inspired by my lacto-fermenting fiend of a friend, decided to pickle them via fermentation. Yum!

These are the jars before fermentation
 A few notes about lacto-fermented pickles:
1) fermenting things is so easy
2) they taste amazing
3) they are super good for you and your digestive system

No matter what you are going to ferment, you will need a brine mixture of this ratio:
2 c. water to 1 1/2 T sea salt - or - 1 quart water to 3 T sea salt.
Be sure to use the fine grained sea salt and not the rocky stuff. I heated a portion of the water so the the salt would dissolve better, and than topped it off with cool water to the appropriate ratio. (You want the brine to be room temp or cool when you add it to the veggies, not warm.)

Your big decision is what to ferment! Some things may require a quick blanching first (green beans, brussel sprouts) or cooking (beets), but many things just can be fermented in their raw state (onions, radishes, carrots, cucumbers, cauliflower). You do want to be careful to use veggies that are in good shape and not bruised. Whatever you choose, the basic idea is to put some spices in a jar (peppercorns, dill, garlic, hot peppers, mustard seeds, etc) and than fill the rest of the jar with your chosen item or blend. Pour the cooled brine over the top and make sure that all veggies/herbs/spices are submerged. Note: Keeping everything submerged can be challenging, but tuck beans under or pack radishes down and fill the jar all the way to the brim. Screw the lid on the jar tightly.

Now comes the part where you leave the jar out for several days to weeks for it to ferment. You will need to "burp" the jars each day to release the pressure - mine often end up spilling over the counter, leaking from the jar lid because of the fermenting process inside (I perhaps don't screw mine tightly enough, but just as well so the jars don't break!) This is all good and means the pickles are getting really tasty, just wipe it up and watch all the bubbles rise to the top in the jar. The best way to tell that your pickles are done is to taste them. You want to taste for nice pickle flavor - and there is no going wrong here. Some people like a mild ferment, others want it really strong. There will be a point where the active fermentation process ends - there will no longer be bubbling or overflow from the jar, so you can also use that as your done meter. Once you decide your pickles are ready, move them to cold storage (I put mine in the fridge) and eat them or store them for a long while. A year or more, so long as it is airtight and covered with the brine.

For my radishes:
I chopped them in half and had just enough to fill a pint jar. I have lots of dill going to seed in the garden, so I plucked several of the seed "heads" to stick in the jar. I also tossed in some black peppercorns, and would have put in mustard seed if I had any. Garlic and a hot pepper would have been great too, but I was out. My radishes were ready after 4 days, and they turned a nice pink color. These were great with a burger, in salad, or just plain for a snack.


For the onions:
I used red onions because that is what I had, and I thought they would look really pretty. I am a little sensitive to raw onions, so I was excited to ferment some to put in stuff without needing to cook them or soak them in vinegar first. This worked out great - they were still onion-y, but less sharp. They were perfect in salad and on burgers - really you could eat them on anything. I didn't use any spices with these, just the brine, and they also turned pink. The onions took longer and the juice kept spilling over the jar - it was about a week or 8 days when I liked the flavor best and called them done!

4.10.2013

Roasted Radishes

Well, the spring seems to be slow in coming - although my green onions are just starting to shoot up and are nearly an inch tall! (They are 3" tall in the sunny side yard at the northside homestead.)

So, while I wait patiently, or not so patiently depending on the day, for asparagus, green onions, and snap peas, I tried Bon Appetit's Roasted Radish recipe with some of the remaining local watermelon radishes from the Seward. I love these radishes, though they are quite large and nothing like the original recipe's call for a more spring like "2 bunches of medium radishes" with greens. The watermelon variety grows in the fall, and they get quite large. I ordered seeds to try growing them this year, so we'll see how that goes. Some other new gardening trials (to me) this year will include a kabocha-type-squash (which I am so hopeful to turn out because I loved eating them so much last year), eggplant, and I think I got some brussel sprouts seeds too. Mmmm!

I ate these radishes with the first pork chop from my half hog order, and they tasted delicious. I used fresh parsley in lieu of the radish greens - but I think radish tops would be great as a spicy addition, or arugula when that is growing for more of a salad sort of dish. The radishes melt in your mouth!


Roasted Radishes with Lemon Butter
2 bunches medium radishes (such as red, pink, and purple; about 20 - cut lengthwise in half, reserving greens) OR 6 large watermelon radishes (cut in half lengthwise and then cut again in 6 or 8 pieces)
1 1/2 tablespoons olive oil
Coarse kosher salt 
2 tablespoons (1/4 stick) unsalted butter 
1 teaspoon fresh lemon juice

1. Preheat oven to 450°F. Add 11/2 tablespoons olive oil to cut radishes and toss thoroughly to coat in a rimmed baking sheet or cake pan. Place radishes, cut side down; sprinkle lightly with coarse salt. Roast until radishes are crisp-tender, stirring occasionally, about 18 minutes. Season to taste with more coarse kosher salt, if desired. 
2. Melt butter in heavy small skillet over medium-high heat. Add pinch of coarse kosher salt to skillet and cook until butter browns, swirling skillet frequently to keep butter solids from burning, about 3 minutes. Remove skillet from heat and stir in fresh lemon juice. 
3. Transfer roasted radishes to warmed shallow serving bowl and drizzle brown butter over. Sprinkle with chopped radish tops (or parsley or arugula if using the watermelon radishes) and serve.

6.10.2012

Jicama chicken sliders


vietnamese chicken salad
Go to her blog for a GREAT list of paleo picnic foods
I saw these "Jicamadas" on my fave paleo blog and got inspired to try them. One because I love jicama, and two because they just looked fancy and treat-like, which I sometimes miss in the paleo food world. There  tends to be less glamour I think, and this recipe has some. Plus she suggested that these are a little like banh mi sandwiches - you know, but totally different. I agree, in a subtle kind of way. The radishes (which are SO beautiful right now at the store and farmer's market) mix with the carrot, jalepeno and mayo to conjure up some definite banh mi likeness.

My Jicamadas were super tasty - really nice flavor mix with the mint and basil. I found that the small dice of veggies was hard to keep on the jicama, and I thought that next time I'd julienne the veggies rather than dice. I think it will still look festive because of all the great colors, and it will be easier to eat. These would be perfect appetizers for some festive occasion - just make them on smaller pieces of jicama.

*Note that she recommends brining the chicken before you cook it. I did not do that, though I used thighs instead of breast meat. Also, this was my first time poaching meat. It felt strange, and did seem successful in keeping the meat moist. I think you could prepare the chicken any which way though. I sort of like the increased flavor that cooking it under the broiler produces, so I might try that next time.

6.03.2011

Radish Leaf Pesto

I planted radish seeds a month or so ago, and, as is my tendency, planted way too many way too close together. No big deal because they can be thinned out and eaten as micro greens. Except that following the heat of the labor day weekend, the leaves were brimming over one another and already sort of prickly and tough. Not so micro.

But then I got some renewed inspiration from Clotilde (I am loving the way her name looks) and her blog, "Chocolate and Zucchini." Clotilde is French, lives in Montmartre, and has some really nice looking recipes (and a book or two too). There are lots of French cooking sorts of things, and also French words and a handy conversion chart for weights and measuring. The blog is in French and English, for anyone who wants to get in a little French language practice.

Anyhow, Clotilde gives some props to the radish leaf, something I did not know could be eaten in its larger form - and let me tell you, this Radish Leaf Pesto is totally snappy and delicious. (She also mentions putting them in soups and gratins - yum.) So, with scissors in hand, I snipped and thinned out the radish leaves right into the lettuce washer.

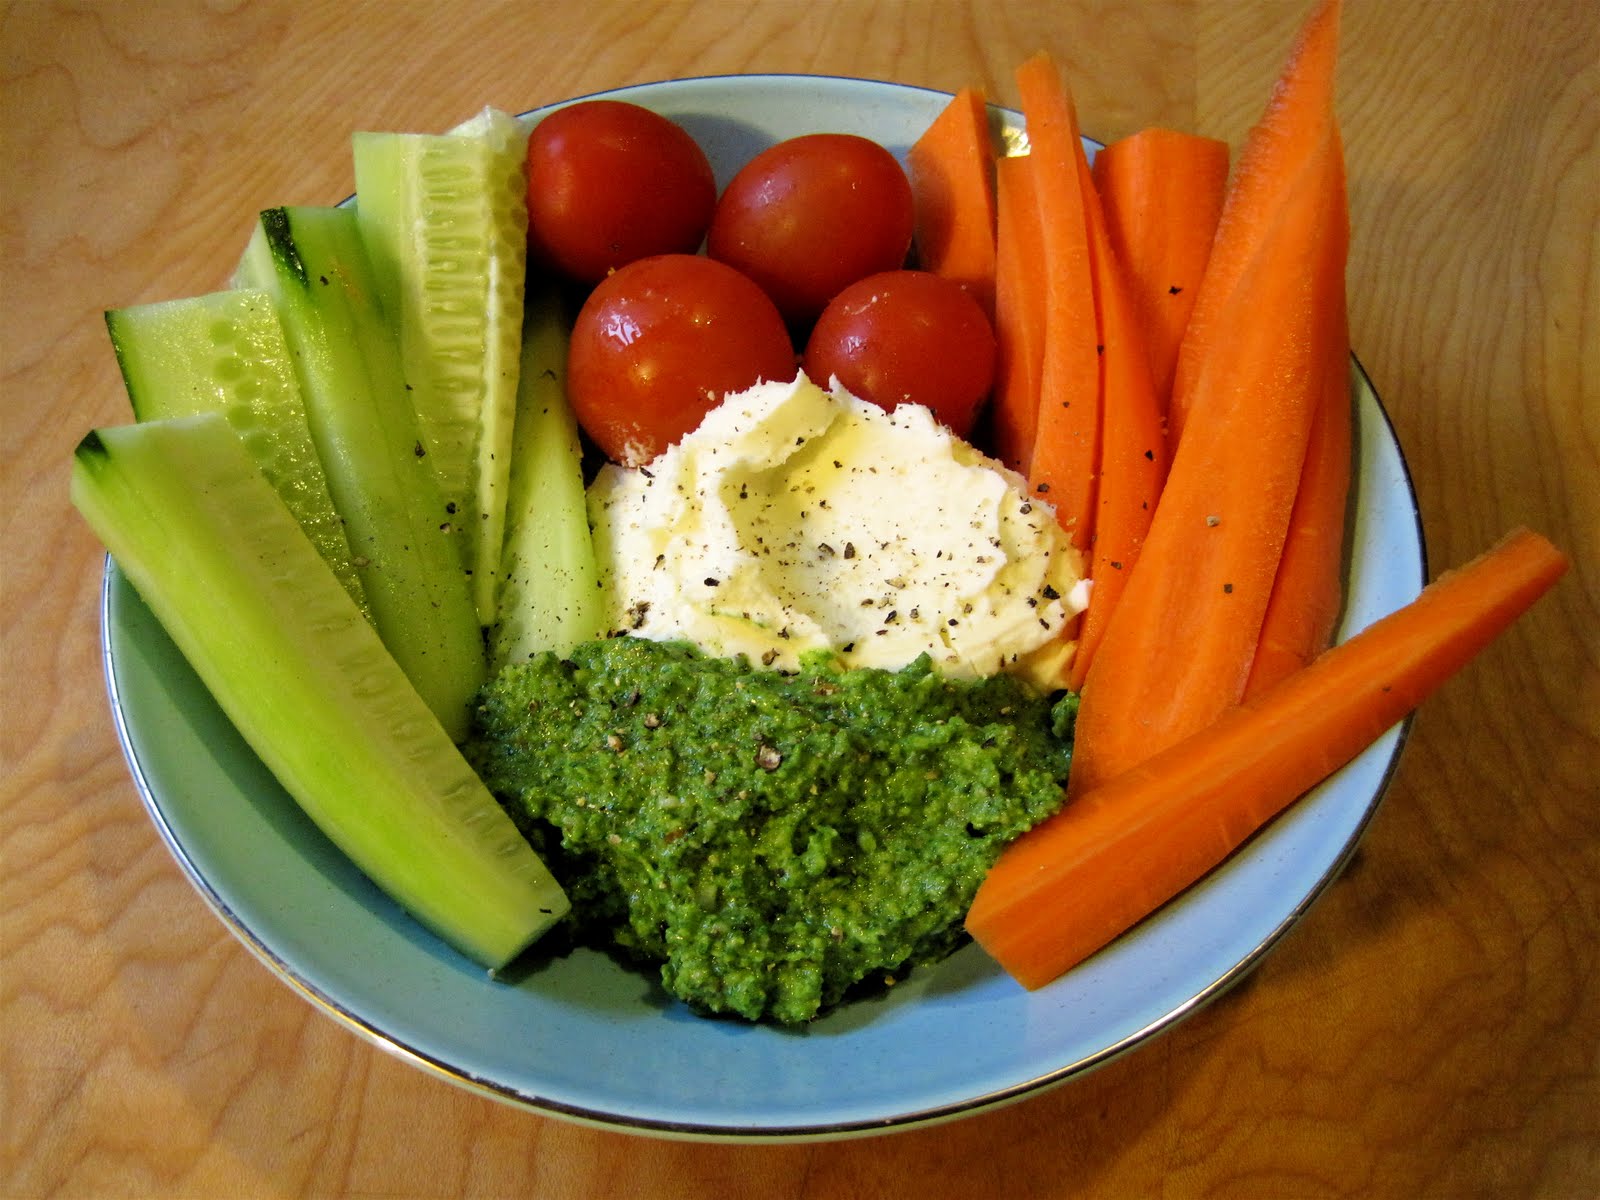
With today's muggy weather, I decided I just wanted raw veggies (crudites as Clotilde might say) - though she offers many creative suggestions abut the uses of pesto. I happened to have mascarpone - clearly purchased so that I could eat it tonight with this pesto. I think that there might just be something about having the season's first pesto - with the tomatoes it was totally divine.