We are a collection of Minneapolis folks cooking, preserving, and harvesting local, seasonal foods. This blog-share is meant to inspire greater culinary genius, as well as continued local food invention. What are YOU concocting in that kitchen of yours?
Showing posts with label wild rice. Show all posts

1.23.2021

Hackberry-wild rice porridge

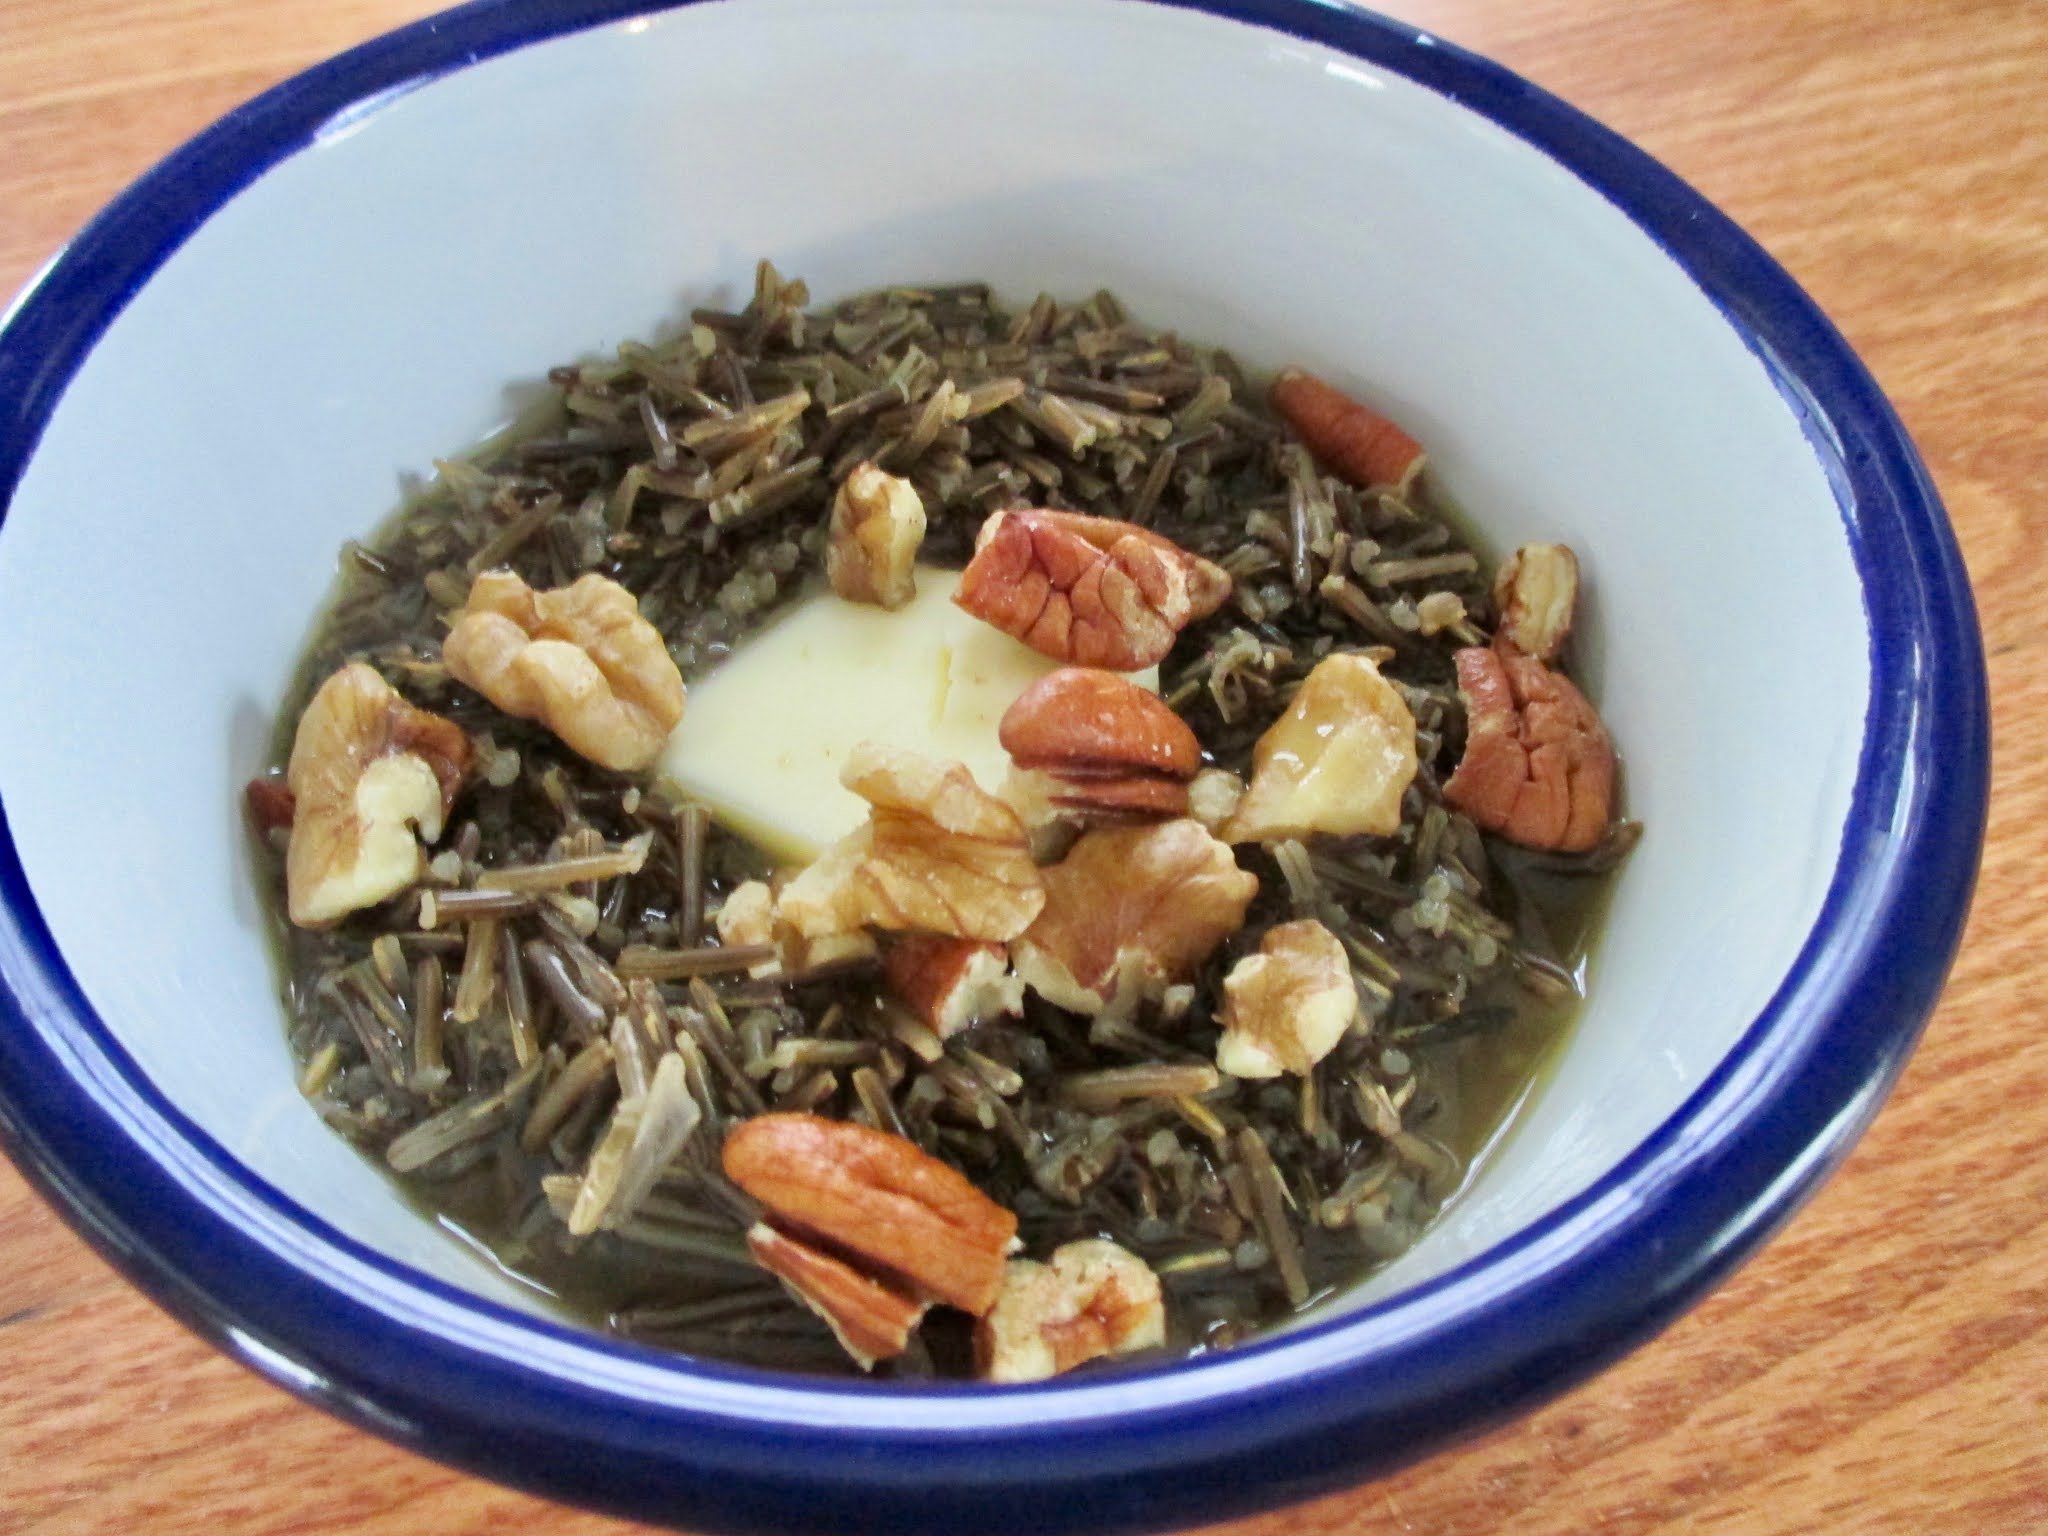
I posted about hackberries last month, and have continued to harvest more since then. It may well be the year of hackberries (for me at least) because a whole tree came down nearby in the Christmas blizzard, making the berries very accessible! I am loving my weekly treks to the fallen tree, winding my way through its downed branches to collect the tiny berries. I discovered that hackberries taste quite different from tree to tree; these ones are less sweet than the ones across the park, and are a little thinner (or have bigger seeds). I read that a traditional/indigenous way of eating hackberries is to mix fat, crushed hackberries, and ground corn to make a porridge. I tried a similar version using wild rice and butter, and it is officially My Favorite Way To Eat Hackberries.

I tried various ratios of wild rice flour to berries, and settled on the one below. The result is a right amount of crunch, creaminess, and sweet. It really is like cream of wheat (from the rice), but with some more texture. Yum. My mortar and pestle, which I'd been wanting for a long time and finally purchased so that I could grind up hackberries, is getting good use and seasoning from my exploits! *I find it is worth the extra minute or two to make sure you have really crushed all of the berries. It helps avoid too big a crunch from an un-ground seed.

Ingredients (Serves 1)

  • 1/2 cup hackberries, ground to a paste in a mortar and pestle
  • 2 T wild rice, ground in a coffee grinder (I tried mortar and pestle and it was a LONG road to get powder)
  • good pinch of salt
  • 1 1/4 cup water
  • 1 T butter (salted is best!)

1. Put hackberry paste, salt and water in a small saucepan and bring to just boiling. Turn heat down and simmer for 3-5 minutes, stirring a few times. The water will reduce slightly, and a nice froth will form on top of the hackberries. This is my favorite step in this process, because the froth and the aroma of hackberry liquid smells so good to me. 

2. Add ground wild rice, and stir/whisk well. Simmer another 2-3 minutes, stirring often, until thick. I usually stir half of the butter into the simmering mixture, and serve with the remaining butter on top, but you could go all one way or the other if you like.

I find this ratio is just sweet enough as it is, or you could drizzle some maple syrup on top.

12.27.2020

Hackberry milk (and more)

A friend tipped me off to hackberries earlier this fall, and once I had identified a hackberry tree, I began seeing them everywhere! They are all over Lake Hiawatha Park and the golf course, most easily identified by their warty bark, and of course the tiny berries. The only problem is that the branches tend to be high, and a step ladder, if not extension ladder, might be called for in order harvest the berries. 

Hackberries are very interesting - they are mostly seed, which is hard and crunchy and maybe a bit much for the teeth. They taste a bit like dates, or prunes, I think; sort of a spicy sweetness. I have been eating a few of them as a I pass by a tree, but it's a pretty firm crunch. The seeds are edible bits of protein and fat, and the berry is very thin. It means hackberries are a good source of energy with the seed AND fruit bit, especially because they do not dry up or freeze and are thus available throughout the winter. 

I'd been meaning to bring a ladder to the park for some weeks, but when I was out walking on Christmas, I came upon some trees that had a few reachable branches. That, and the recent blizzard knocked several little branches to the ground, so I could collect enough to do something with. They are tiny, and it took me close to half an hour to collect about a cup and a half of them, so this is not going to a be a winter staple, most likely. But!! They are so tasty and unusual and I'm quite into them. 

I ground the berries up in a mortar and pestle to break down the seeds (a high end vitamix type blender would also do the job) and had to really mash to crunch them all. The berries become a paste, most of which I used to make hackberry "milk," though I saved a little out to make a little candy hackberry ball. 

The milk was delicious (especially to drink warm), and so was the by-product remains, which I mixed with a bit of cream to make something like porridge. Crunchy, grapenut-like porridge. Yum, it was really good, and I love when you can make multiple things out of the same foraged item! You can drink the "milk" plain, or I used mine on some wild rice porridge (along with butter and some nuts). I also used some to make hot chocolate.


Hackberry milk

  • 1 c hackberries
  • 2 c water

Crush hackberries in a mortar and pestle until the seeds are all broken up and they form a paste. Combine the paste with 2 c water, and bring to a simmer in a small saucepan (not a boil, barely let the bubbles form). Stir. Turn the heat to low and just barely simmer for 20 minutes (I set mine on the low burning woodstove, which was perfect). Strain mixture through cheesecloth and consume!

*You could squeeze the mixture to capture all of the liquid and disgard the pulp, or reserve the paste with some liquid intact, mix with cream, and eat like porridge. Drink as a beverage, or use like you would coconut milk in cooking.

"Milk" will last for a week in the fridge, and is mildly sweet. Makes about 1 1/2 c.

4.10.2020

Basmati, Wild Rice, Chickpeas & Herbs

My dinner tonight was definitely inspired by my current Top Chef obsession/distraction/enjoyment. I cooked three different recipes for dinner - including one that involved lightly (GF) flouring some thinly sliced onions and frying them. Omg. They were amazing. Three dishes for one meal is very fancy, especially when cooking just for me. But totally worth it - I will make this meal, or something similar, when I am able to eat with other people again.

So - the three dishes are all sort of middle eastern themed, and two are from the Ottolenghi cookbook Jerusalem, which I have on loan. Thanks, mom. And thanks auntie Mary for buying my mom this cookbook (which I have previously pined after, along with their first cookbook, Plenty.) I made a schwarma style burger (which I actually made last night), roasted sweet potatoes with tahini sauce, and a basmati and wild rice dish with chickpeas. Yum. The rice dish was the star of the show and I kind of couldn't stop eating it. It is worth frying those onions and I made my basmati exactly as specified. (I only had parsley, and used dried dill and no cilantro. I also didn't have currants, so used raisins instead. Am including the original recipe below.)

Basmati & Wild Rice with Chickpeas, Currents & Herbs Serves 6
1/3 c wild rice
2 1/2 T olive oil
rounded 1 c basmati rice
scant 1 1/2 c boiling water
2 tsp cumin seeds
1 1/2 tsp curry powder
1 1/2 c cooked chickpeas (I used canned)
3/4 c sunflower oil (I used coconut oil with no discernible taste issues)
1 med onion, thinly sliced
1 1/2 tsp flour (I used an all purpose GF flour mix)
2/3 c currants
2 T chopped flat leaf parsley
1 T chopped cilantro
1 T chopped dill
salt and freshly ground black pepper

1. Start by putting the wild rice in a small saucepan, cover with plenty of water, bring to a boil, and leave to simmer about 40 minutes until the rice is cooked but still quite firm. Drain and set aside.
2. To cook the basmati rice, pour 1 T of olive oil into a med saucepan with a tightly fitting lid and place over high heat. Add the rice and 1/4 tsp salt and stir as you warm up the rice. Carefully add the boiling water, decrease the heat to very low, cover the pan with the lid, and leave to cook for 15 minutes.
3. Remove the pan from the heat, cover with a clean tea towel and then the lid, and leave off the heat for 10 minutes.
4. While the rice is cooking, prepare the chickpeas. Heat the remaining 1 1/2 T olive oil in a small saucepan over high heat. Add the cumin seeds and curry powder, wait for a few seconds, and then add the chickpeas and 1/4 tsp salt; make sure you do this quickly or the spices may burn in the oil. Stir over the heat for a minute or two, just to heat the chickpeas, then transfer to a large mixing bowl.
5. Wipe the saucepan clean, pour in the sunflower or coconut oil, and place over high heat. Make sure the oil is hot (a small piece of onion thrown in should sizzle vigorously). Use your hands to mix the onion with the flour to coat it slightly. Take some of the onion and carefully place it in the oil. Fry for 2-3 minites, until golden brown, then transfer to paper towels or a paper bag to drain, and sprinkle with salt. Repeat in batches until all of the onion is fried.
6. Finally, ass both types of rice to the chickpeas and then add the currants, herbs, and fried onion. Stir, taste, and add salt and pepper as you like. Serve warm or at room temperature.

Schwarma burger with Tahini-"yogurt" sauce (my "yogurt" was lemon juice & coconut milk)

1.08.2014

Snowshoes and Manoomin Cereal

If I had to describe the last 3 weeks of my life in just one word, that word would be SNOWSHOES. Snowshoes! I made my own (which took quite a long time) and I got to take them on their initial voyage last week in the UP (where there was A LOT of snow). It was beautiful there, and I spent much of the time that I was not outside within 3 feet of the wood stove. I also ate several bowls of manoomin (wild rice) to celebrate the vacation. This post then is a picture-walk through the snowshoe making, the eating of the manoomin, and the honoring of the wood stove - which really is my favorite thing on these cold winter days.

My Charming Companion and I ordered these awesome snowshoe kits from a company in south Minneapolis called Country Ways. The kits include completed snowshoe frames, lacing materials, and bindings. We picked them up from the tiny shop about 10 days before the trip to the UP, and because many of those days were holiday or vacation days from work, completing the snowshoes in time seemed like no problem. But whew! It was challenging, and also really engaging because it required a lot of focus.

Snowshoe kit, perched in front of the wood stove work space!
We got the "Ojibwa" style snowshoes because they seem best suited for walking long distances (compared to some shorter, more rounded ones that are better for climbing or for turning around). There are really complex lacing patterns that required fully re-lacing if you miss one step or wrong underpass, and all of it was detailed on some big diagrams that came with the kit. The center section was the most challenging (after practicing on the easier "toe" and "tail"); the lacing all in all took several days.

You want to pull the lacing quite tight, and there are a few basic knots/hitches you use throughout.

My Charming Companion taking a nap after completing a tail.
After the lacing is done, several layers of polyurethane need to be painted on. There are specific drying times (including 3-4 days at the end to fully cure), so there was a big push to make sure they would be useable for the trip. (We painted at my house but stayed at the northside homestead so as to avoid the fumes, which meant lots of daily commuting back and forth for all the coats of varnish!) Plus there was a lot of admiring time - they look so cool!

Here they are drying and hanging on a 2x4 erected across my kitchen.
The snowshoes had just enough time to cure, so they came in the car for the drive to Michigan and more time by a wood stove! The final step was to add the bindings, which included yet another diagram (again, notice the prominence of the wood stove in snowshoe making).


We went out on the snowshoes the first morning we were there, right after a breakfast of eggs, pork belly, and manoomin cereal. Mmmm!


My Charming Companion introduced me to manoomin cereal (and the ground up version that I call porridge) several years ago. I've started calling the wild rice manoomin (the Ojibwe word meaning "the good berry") after reading essays by Jim Northrup and Heid Erdrich who no longer refer to manoomin as "wild rice" to further distinguish it from the cultivated/farmed stuff that is not actually wild at all, but that gets sold under that name all over the state. Heid Erdrich includes her version of manoomin porridge in her new cookbook Original Local, and she was recently interviewed by the Heavy Table (the interview includes her recipe too!)

Manoomin with some cherries and red walnuts sent from friends in CA!
The Manoomin Cereal we ate on the trip was from manoomin that My Charming Companion not only harvested, but also processed himself. It was delicious.

Manoomin Cereal (serves 2)
1 cup manoomin
1+ cup water
pinch of salt
Toppings: walnuts or pecans, dried cherries, coconut milk, ghee, and a little maple syrup or honey.

I like the manoomin best when it cooks with the exact right amount of water so that the rice grains stay intact rather than puffing open. They taste chewier that way I think, and I enjoy that texture. Different varieties of manoomin will require different water ratios, but in general it is less water than you think. Start with one cup of water and bring it to a boil. Add wild rice and a pinch of salt, and cover the pot and set on med-low heat. Turn the heat off after about 15-20 minutes and let the rice rest for another few minutes. Then taste a few grains of rice to see where they are at. The "al-dente" version of manoomin is still a little crunchy, so if you want it more cooked, sprinkle in just a tablespoon or two of more water, cover, and cook another 5 minutes or until the right texture is reached. Serve topped with your fave toppings. Fill your belly and perhaps venture out into the cold!

9.13.2013

Wild Rice Porridge

I've been reading some books by Jim Northrup, an Anishinaabe writer and Vietnam war veteran who lives up north near Cloquet. He writes a column called the Fond Du Lac Follies that is printed in The Circle newspaper, though I have been reading a book compilation of the Follies from the past 10 years or so. I enjoy his writing so much! He talks about tapping trees for maple syrup and going ricing in much of his writing - and ricing season is right now, so I am thinking about it. My Charming Companion has gone ricing several times - including processing it himself, so I found myself asking questions about the knocking, drying, parching, hulling and winnowing of the rice. That lead to some storytelling about ricing, and that all seems fitting for the season.

My Charming Companion still has some wild rice left from ricing a couple of years ago that he shares with me. I don't eat it often, but I have taken to bringing some "wild rice porridge" when going to the Boundary Waters. It is delicious, delicious, delicious hot cereal that is creamy and nutty tasting. It's also really light and easy cooking, so makes a nice meal to bring while camping - especially in the fall when the mornings are cool. I'm heading up to the BWCA next week and am bringing at least two meals of wild rice porridge. There are two options for canoe entry points, but I am leaning towards Crab Lake, which includes a mile long portage at the start of the trip. I don't know, maybe it's the hiking trip from a couple of weeks ago, but somehow I am not feeling daunted by the mile long portage (which will be 3 miles because of the 2 trips to get all the stuff). It'll be a nice workout on each end of the trip, and I'll get more practice carrying the canoe. We'll see!?!

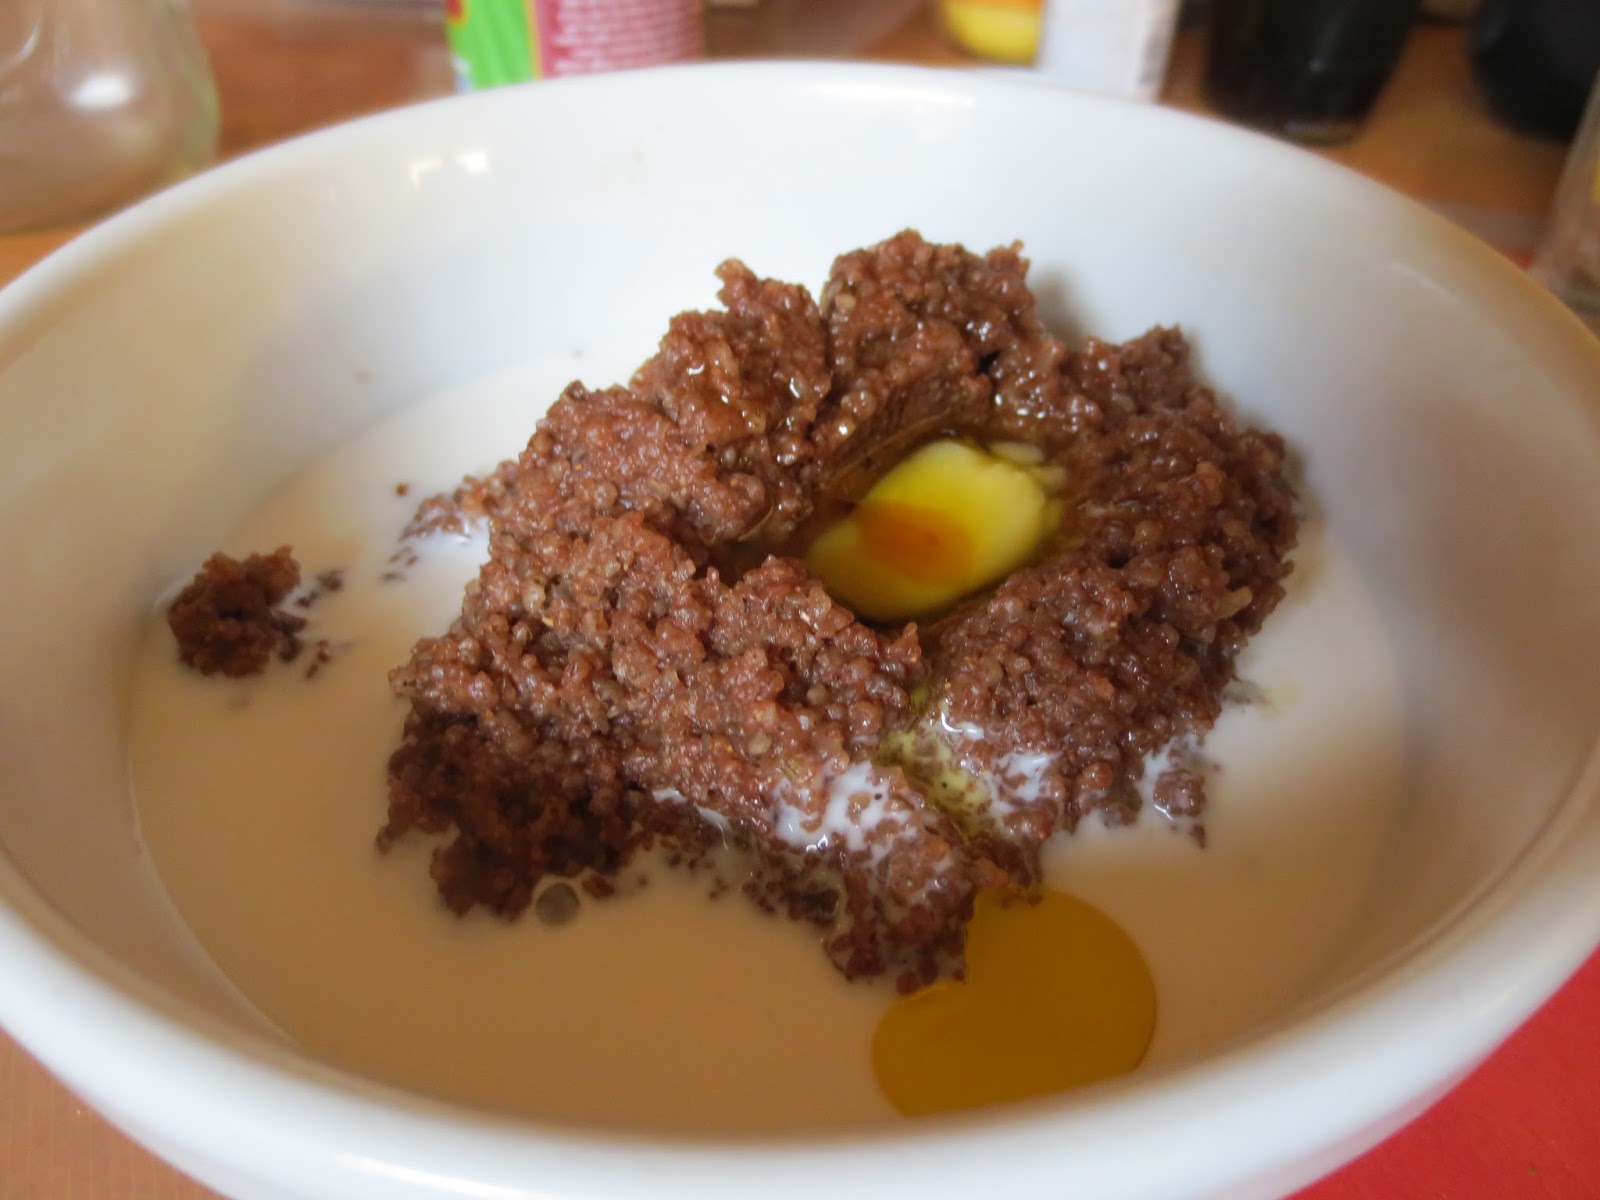
"Chocolate porridge" with coconut milk and butter - not yet mixed together!
Wild Rice Porridge
Grind wild rice in a coffee grinder. I do this in batches so that there is a more even grind. If you want to be persnickety, you could even sift the rice "flour" so as to have really consistent grains. But I usually don't do that step and just grind to have a product that will be finer than cornmeal, but not as fine as white flour. *One important note here is that this works with true wild rice and not the kind from a paddy field (at least, I've never tried it, but the cooking times vary so much that I don't think it would be the same, and certainly not as good due to less flavor in the paddy rice). True wild rice is lighter (on the right), whereas the paddy kind is dark.

The water to wild rice flour ratio is 4:1. I generally eat 1/4 cup of the flour - though on a canoe trip that is closer to 1/3 cup. For an extra treat, add in some cocoa powder to the wild rice flour - it makes it even richer and more delicious. 

Mixed up a bit. YUM!
The only tricky part to making the porridge is that the wild rice can sometimes clump up (much like my cream of wheat used to when I was a kid) - so it is helpful to have a mini-whisk to break up any globs. I boil the water first, than whisk in the wild rice because it seems to result in less lumps. The cooking does not take long because the rice starts to thicken and absorb the water right away. Stir while it cooks and keep the heat low. If it is going pretty slowly, you can also cover the pot (after your whisking) to let it finish.

Serve with cream or coconut milk, butter and a little sweetener. Maple syrup is amazing here if you want to go all out.

8.25.2011

Warm summer salad

This salad recipe (like Andrea's recent post!) features some of the best summer veggies: zucchini, tomatoes, green beans, cucumbers, and corn. This salad was inspired by a similar dish my friend Kate made for me many years ago. I was impressed by how simple and flavorful it was - the fresh veggies just showcase themselves! The amount of each ingredient is not as important as the way it is prepared - I gave an estimate, but consider it very flexible.


Summer Salad, serves 4-6
One ball fresh mozzarella (optional, mild feta might also be nice)
1-2 c. cooked wild rice
2 med. zucchini
2 med. cucumbers (or 4 pickling ones, in my case)
2 ears of corn
1+ c. tomatoes, diced
2 big handfuls of green beans
fresh herb (basil or rosemary)

First dice the mozzarella, tomatoes and cucumbers and put in a large bowl with the wild rice. Add any chopped herbs.

Prep the rest of the veggies: shuck corn; trim the green beans and cut into 1-2" pieces; quarter zucchini the long way (making 4 spears), cut each spear at an angle - turning the spear 1/4 turn at each cut (this will give each piece multiple flat edges that will sear in the pan).


Using whatever steam method you use, put water on to boil for corn and green beans. When it is boiling, put corn in the steamer basket for 4 minutes, and remove. Put green beans in the basket and steam for 5 minutes, then remove. Cut corn off of cob and mix both corn and beans into the salad.


While water is heating in steamer, heat a dry cast iron pan on med-high for zucchini. In a small bowl, drizzle zucchini with olive oil and salt; toss well to coat. Once cast iron is hot, put zucchini on pan to sear in a single layer (let it sit a minute, it won't sear if you move the pieces around too fast), then toss or flip pieces to sear other edges. Add zucchini to salad and toss all ingredients well. Pour dressing over the top, and serve immediately to get a nice blend of cool and warm ingredients.

dressing:
1 part honey
1 part olive oil
1 part balsamic
stone ground mustard
salt

4.26.2011

Wild rice, zucchini, leek and chevre tart

I recently came across a new food blog via The Heavy Table. It's called All About Food, and I was hooked after seeing many wild rice recipes and reading about her Hungarian and German/Czech ancestry. And she talks about the Mississippi River, and I just appreciate midwestern pride, so there we go.

Anyway - I tried her wild rice pie crust this week, and OMG. It's a whole new kind of savory tart crust: chewy, super flavorful, and not so rich as pastry. I also find an appeal to having a whole-food sort of crust - which could be entirely locally sourced except for the lemon. I can't wait to try this crust with a variety of fillings.

The recipe is definitely on the rich side - she recommends that you stick with the heavy cream for the filling, and I would argue that half and half would be a bit lighter and nice too. I really like the zucchini/leek combo, and chevre always reminds me of the year I worked at a small farm making goat cheese in Iowa. The little cheese kitchen was next to the milking room in the barn and always smelled like tart goat milk; there were flies stuck to fly paper all over the ceiling and the farm kittens would wait by the door to drink up the whey. I often went to help pick and package veggies for the CSA shares while the milk pasteurized. Fresh goat cheese with just picked spinach = total bliss as far as I am concerned!

This tart is tasty - though beware of that 10" pie pan. Who has a 10? pie pan?? I happened to have a 10" cast iron, but kind of rare size. I ate the tart with my last jar of pickled beets on some salad greens from WI. And I was able to plant my own lettuce, arugula, beets, and radish before the big rains - so soon I'll be eating out of my own garden. Yay!

12.22.2010

Wild Rice Salad

Lately wild rice and I are having a torrential love affair...I already had wild rice with milk and maple syrup for breakfast. Which can be beat only by wild rice porridge (grind the rice in a coffee grinder and cook it 1:4 parts water) - also with milk and maple syrup. So here we are: a family recipe that my mom and her sisters make a lot. Winter salad is singing to me tonight - particularly since I've been eating lots of cheese, meat, and cream.

Incidentally, since I am bringing you along on the wild rice affair, here is a great article by Winona LaDuke about ricing in Minnesota and the industrialization of "wild" rice (3 pages...it just looks longer). Support the White Earth Land Recovery Project - their rice is at the co-op.

This is not the most precise recipe. I'll put in my estimated amounts, but it is very flexible.
2+ cups wild rice
2-3 carrots, diced small
2-3 celery stalks, diced small
1/2 c+ mixed raw, unsalted nuts (cashews, almonds, pumpkin seeds, sunflower seeds, etc)
1 c. dried fruit (craisins, raisins, currents, diced apricots...)
2 scallions, chopped
1/2 c. frozen peas (maybe more)
handfuls of chopped parsley
juice of 1-2 lemons
salt
olive oil drizzle

Cook the rice according to the instructions, then mix all ingredients together.

8.07.2010

Wild rice soup


I made this soup for breakfast (weird, I know, but I was craving it!) a few days ago but have procrastinated adding it to the blog. With the Uptown Art Fair raging outside my window, now seems like a good time for distraction.

This recipe is from Heidi Swanson's amazing Super Natural Cooking. I am a huge fan of hers (can't go wrong with a Heidi recipe!) and am almost as excited for the release of Super Natural Everyday as I am for Mockingjay (only 17 more days!!!). I had a yam that needed using, so I substituted that for the sweet potato--either is fine. Please note: food photographer, I am not. This soup tastes way better than I managed to make it look.

Creamy Wild Rice Soup
2 T. coconut oil
1 1/2 t. red curry paste
1 large clove garlic, finely chopped
1 shallot, chopped
1 yellow onion, chopped (I use whatever I have. I was short on onions this time, so used 1/2 a red one and a bunch of scallions. It still tasted great.)
1 cup wild rice, rinsed
4 cups water
1 orange-fleshed sweet potato, peeled and cut into 1/4-inch dice
Fine-grain sea salt (I use coarse)
2 t. ground turmeric (I love turmeric so I add a bit more)
1 T. natural cane sugar
1 T. shoyu
1 (14-oz.) can coconut milk
Squeeze of lime juice

Heat 1 T. coconut oil in a large soup pot over medium-high heat, then add curry paste, garlic, shallot, and onion, and saute until the onion begins to soften (she says 3-4 minutes; mine seem to take more than 5). Evenly distribute the curry paste.

Stir in the wild rice and 3 cups of the water, and bring to a simmer. Lower the heat and cook, covered, for approx. 40 minutes (taste to be sure the rice is done).

Sweet potato croutons (make while the rice is cooking):
A small dice seems to work best for these. Warm the rest of the coconut oil (1 T.) in a skillet over medium-high heat, then add the potatoes and salt to taste; make sure they get coated with the oil. Toss them every few minutes until they're crisp and cooked through.

When the wild rice is tender, add the turmeric, sugar, shoyu, coconut milk, 1 cup water, and 1 t. salt. Stir, return to a simmer, and cook for 5 more minutes. When ready to serve, add a squeeze or two of lime juice and top with the sweet potato croutons. Yum!